Tuesday, May 27, 2014

Embellished Owls

I found this owl printable...which I printed and embellished.


These owls were intended to be used as bookmarks.  This is what I did:

  1. I printed two copies on heavyweight (110 lb.) white card stock.
  2. I cut out the owls and glued two of the same color back-to-back.
  3. I glued sequins on the front (only) of each.
  4. I punched a small hole near the top of each and added a loop of clear monofilament (for hanging).

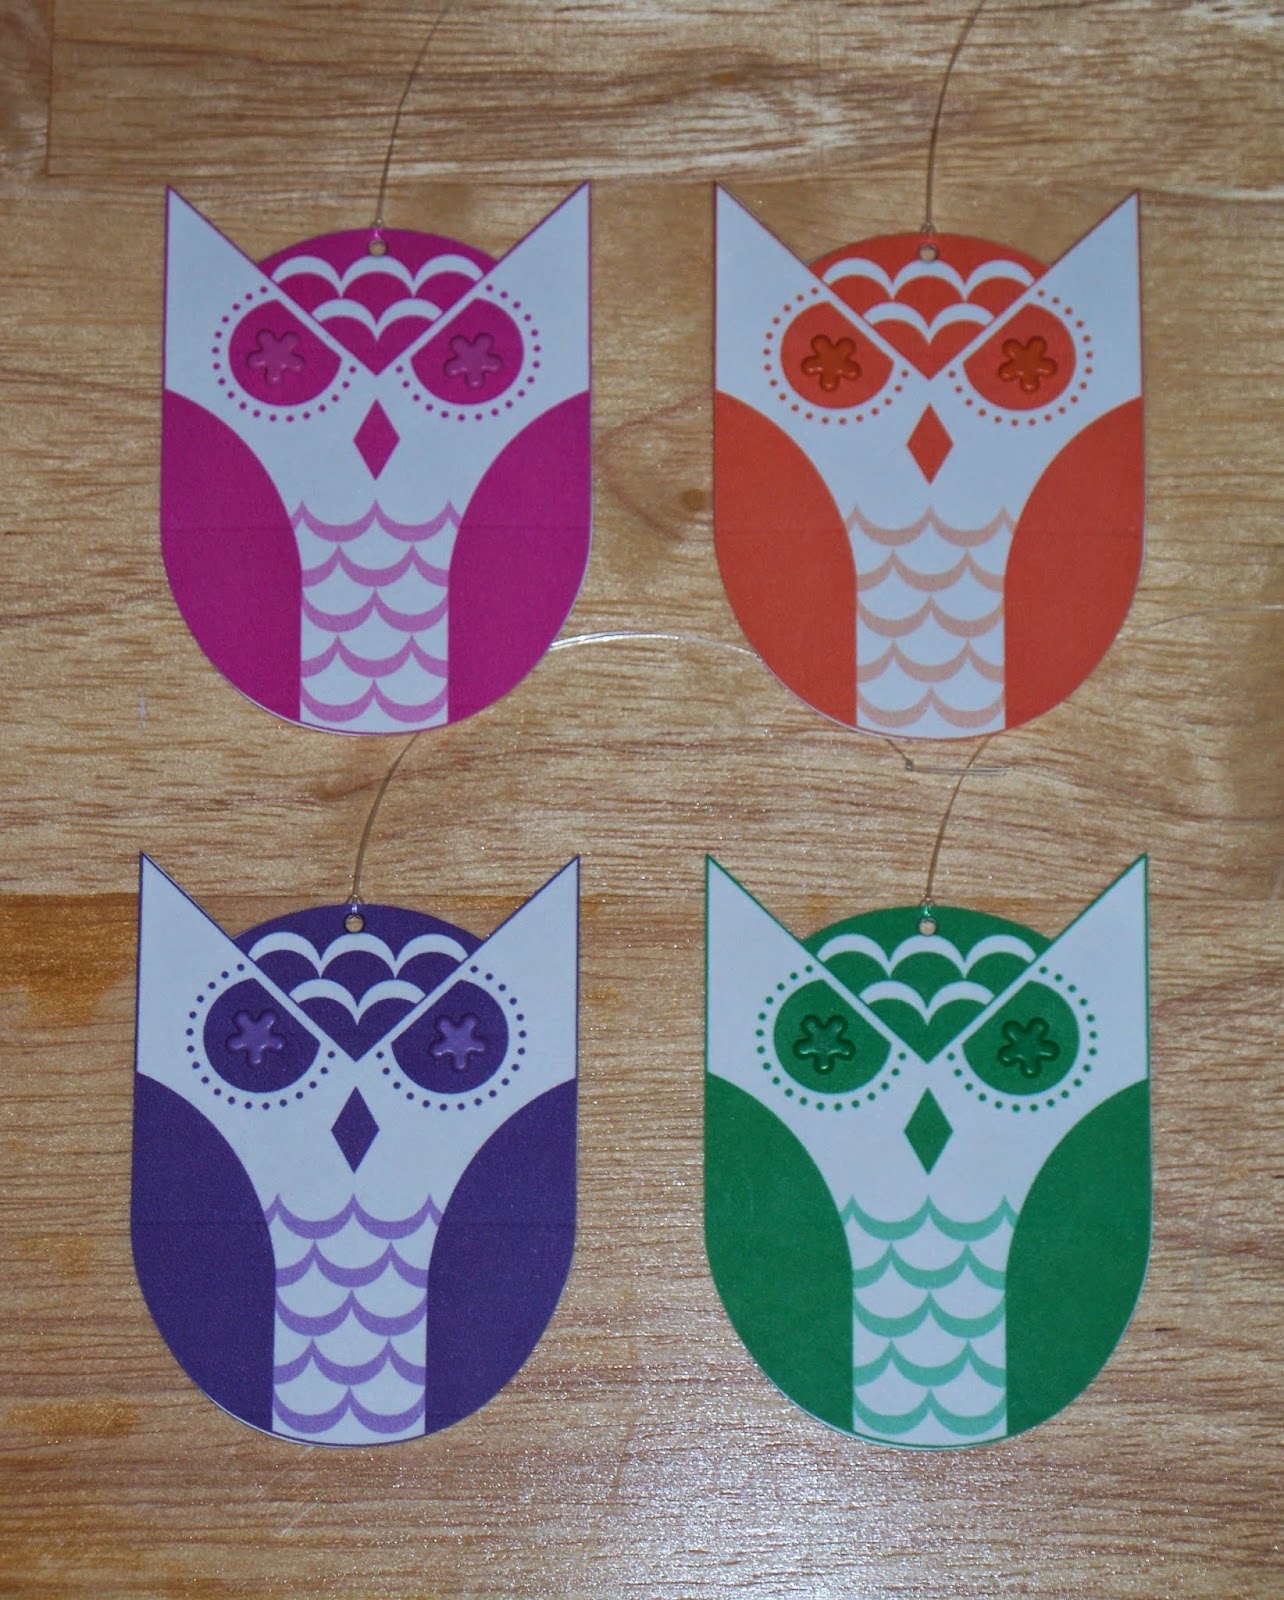
I found these owl printables...which I printed and embellished.


These owls were intended to be used to make a mobile.  This is what I did:
  1. I printed two copies of each color on heavyweight (110 lb.) white card stock.
  2. I cut out the owls.
  3. I added small flower brads to the eyes on the front (only) of each.
  4. I glued two of the same color back-to-back.
  5. I punched a small hole near the top of each and added a loop of clear monofilament (for hanging).

Monday, May 26, 2014

Origami Owls

I made two more owl decorations for the centerpiece.


I made origami owls using these instructions.


I added wiggle eyes to the front and glued hemp cord to the back (for hanging).


These were so fun to make!  I love origami.  :)

Sunday, May 25, 2014

Newspaper Owls

For the dining table centerpiece, I'm going to put a tree branch in an owl vase. Hanging from the branch will be various owl decorations...some purchased and others handmade.

These are the first two owl decorations I made.


  1. I printed this owl pattern onto heavyweight (110 lb.) white card stock.
  2. I cut out the body and covered it with pieces of newspaper.
  3. I cut out the wing and the face and beak and traced the pattern pieces onto scrapbooking paper.
  4. I cut them out and glued them to the body.
  5. I added buttons (layered) for the eyes.
  6. I glued a piece of hemp cord to the back (for hanging).
  7. I also traced the body pattern piece onto scrapbooking paper (same as used above), which I cut out and glued to the back of the owl...to give it a more "finished" look since the back will show when hanging.

Saturday, May 24, 2014

Owl Invitations

In a couple of weeks, I'm hosting a wedding shower for my niece who is getting married in July.  For the party, I decided to go with an owl theme.  (My niece likes owls.)  Although I looked high and low for invitations with an owl theme, I was unsuccessful in locating any.  So, I made the invitations.  :)

I purchased kraft note cards with envelopes, owl ribbon, an owl rubber stamp, and a moss green stamp pad.  (Later, I purchased a chestnut brown stamp pad, because the green ink didn't show up very well.)


Don't make the same mistake I did and run out of ribbon halfway through the project!  I misjudged how much ribbon I would need.  I knew the roll contained nine feet of ribbon, and I thought (guessed) each card would require a foot of ribbon...
enough on one roll to make eight cards.  Wrong!  I had to use 16 inches of ribbon for each card to make the knot on the front look right.


Here are photos of the finished invitation.


I printed addresses on labels using moss green ink and the same font (Curlz MT)...
and affixed "Celebrate!" postage stamps.


Also, I added an owl sticker to the back of each envelope.


Additional party details are forthcoming!